How to Create the Ultimate Solar Cooker: A Sustainable Cooking Revolution

Updated 4 months ago
Cooking with the sun is not only an efficient and cost-effective means of preparing your meals, but it's also a step towards a sustainable and eco-friendly lifestyle. Harnessing solar power through a homemade solar cooker is a fun and rewarding project that can reduce your reliance on traditional energy sources. Whether you're an experienced DIY'er or a novice, this guide will walk you through creating the ultimate solar cooker.
Understanding Solar Cookers
Solar cookers utilize the sun's energy to cook food. This simple concept has been employed for centuries in different forms. There are several types of solar cookers, but the most common include box cookers, panel cookers, and parabolic cookers, each with its pros and cons.
Box Solar Cookers
Box cookers are an excellent option for slow-cooked meals. They consist of an insulated box with a transparent top to allow sunlight in and retain heat.
Panel Solar Cookers
These cookers are the most straightforward style to make and use reflective panels to direct sunlight to a cooking pot that is often placed in a plastic bag for heat retention.
Parabolic Solar Cookers
Parabolic cookers are more complex in design and require precise construction. They focus sunlight onto a single point, making them capable of reaching higher temperatures quickly, suitable for grilling or frying.
Materials and Tools Needed
To build a basic panel solar cooker, you'll need:
- Corrugated cardboard
- Aluminum foil
- A clear, heat-resistant oven bag
- Black paint or a black pot
- Glue, tape, or adhesive spray
- Scissors or a box cutter
- A pot, pan, or cooking vessel
Step-by-Step Construction
Step 1: Plan Your Design
Sketch the layout of your solar cooker. Panel cookers often resemble a flower shape when viewed from above, with petals reflecting sunlight towards the center.
Step 2: Cut and Shape the Cardboard
Cut your cardboard into the desired number of panels. The more panels you have, the more sunlight you’ll be able to capture.
Step 3: Apply Reflective Material
Cover one side of each piece of cardboard with aluminum foil. Use glue or adhesive spray for a smooth application.
Step 4: Assemble The Panels
Join the panels to form a shape that closely surrounds your cooking vessel and focuses sunlight onto it.
Step 5: Paint the Pot
If your cooking pot isn't black, apply heat-resistant black paint to the outside. This helps with heat absorption.
Step 6: Testing and Cooking
Place your cooking vessel within the center of the cooker. For better heating, put it inside an oven bag. Orient the cooker towards the sun and adjust the panels as needed.
Maximizing Your Solar Cooker's Efficiency
- Use a black, shallow, and wide pot for the best heat absorption.
- Adjust your cooker to face the sun directly every 30 minutes for optimal results.
- Preheat your solar cooker before adding your food.
- Cut food into smaller pieces to speed up the cooking process.
Cooking with your new solar cooker can be a unique experience. The taste of the food is often compared to slow-cooked meals, with natural flavors given ample time to develop.
Safety Precautions
- Never look directly into the reflective surfaces or the sun.
- Be cautious when touching the pot, as it can get very hot.
Call to Action
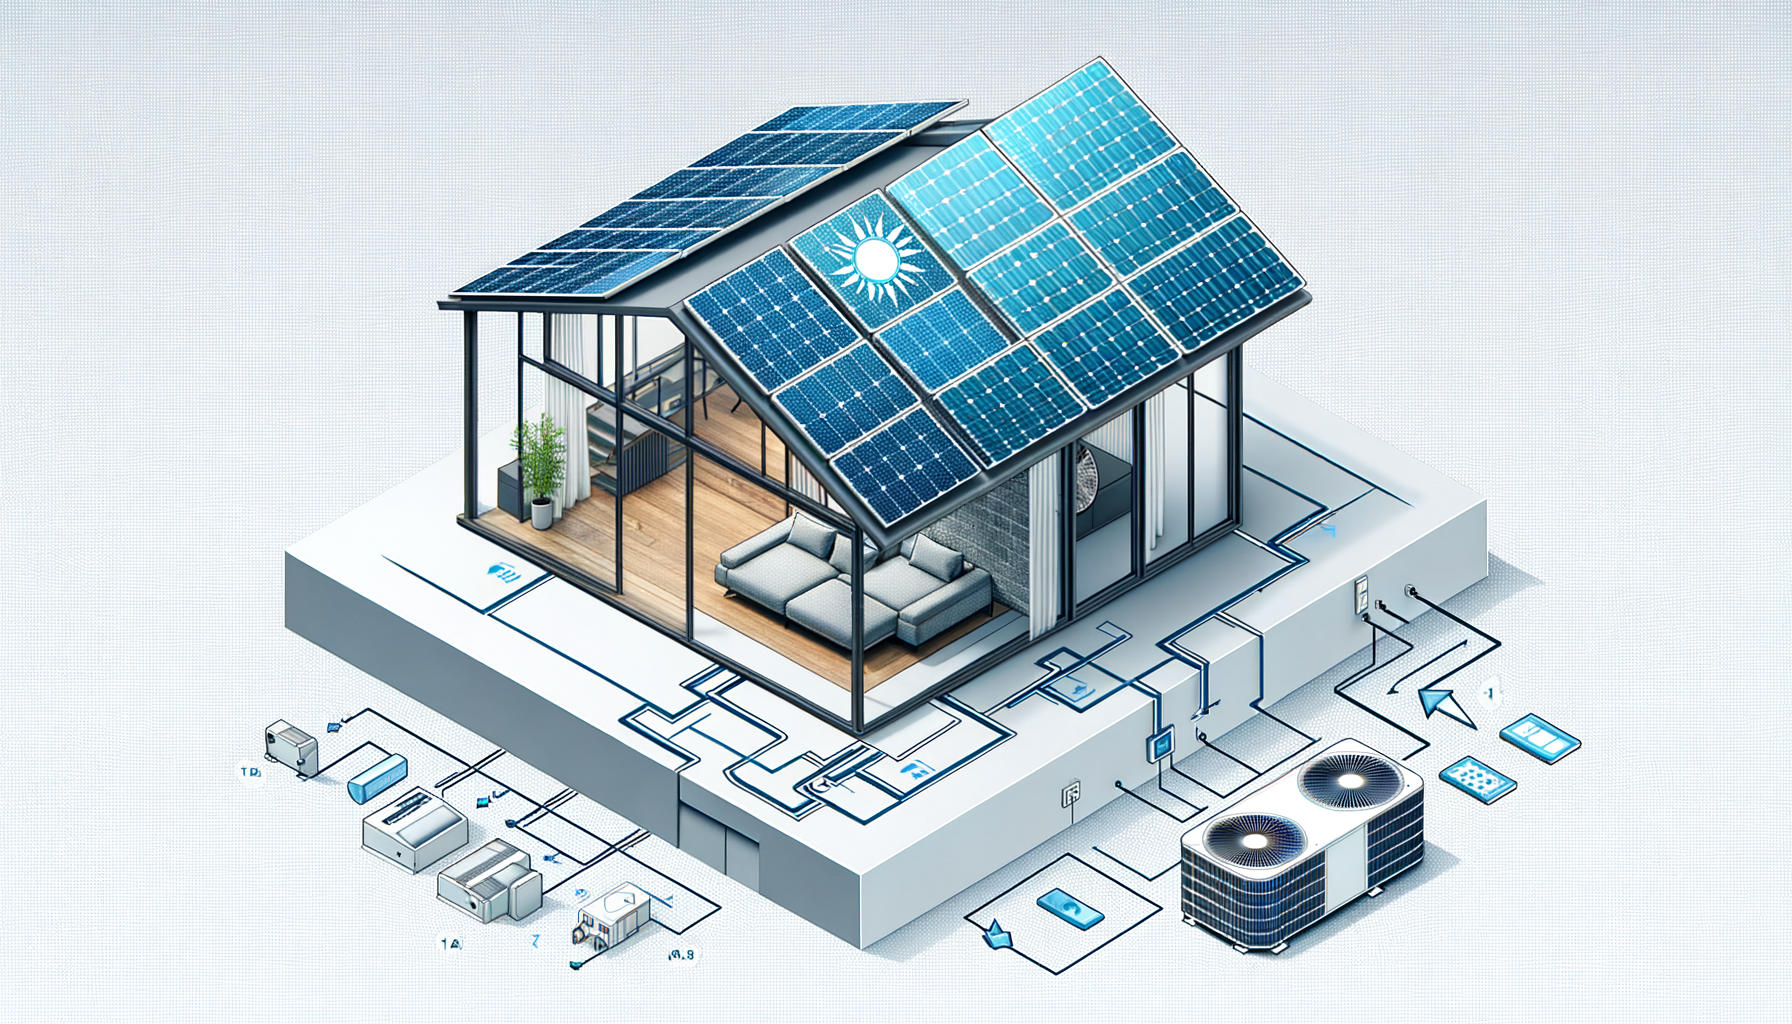
If you're interested in reducing your carbon footprint and saving on energy costs, embrace the solar cooking lifestyle. As you perfect your DIY solar cooker, consider integrating solar energy into your home's power system for greater impact.
Conclusion
Building and using a solar cooker is a great way to take advantage of renewable energy sources. With the right materials and some sunlight, you can cook delicious meals while contributing to a healthier planet.
As you venture into solar cooking, always track the sunlight patterns in your area and adjust your cooking times accordingly. Embrace the power of the sun and start cooking with an energy source that's both cost-effective and environmentally friendly.
By integrating this simple solar solution, you're taking a step towards a more sustainable living and contributing positively to the environment. Don't hesitate; take this step into solar cooking and begin your journey towards a greener future today!
Are you ready to further explore the benefits of solar energy for your home? Click below to calculate the potential savings and impact you can make by going solar in your cooking and beyond.
