The Ultimate Guide to Installing DIY Solar Panels for Your Tiny Home
Updated 4 months ago
The Ultimate Guide to Installing DIY Solar Panels for Your Tiny Home
Tiny homes have become a symbol of minimalist, eco-friendly living — a way to reduce one's carbon footprint without sacrificing comfort and style. One of the best ways to enhance the sustainability of a tiny home is by installing solar panels. This DIY guide will take you through the essentials of installing your own solar panels, allowing you to harness the power of the sun and achieve energy independence.
Benefits of Solar Panels for Tiny Homes
Solar panels come with a host of benefits for tiny homeowners:
- Renewable Energy Source: Solar panels tap into the sun's abundant energy, reducing reliance on non-renewable power sources.
- Economic Savings: After initial installation, solar panels significantly cut down electricity costs over time.
- Compact Living Synergy: The ethos of tiny living is all about efficiency and sustainability, and solar panels are a perfect fit for this lifestyle.
- Portable Power: For tiny homes on wheels, portable solar panels provide power on the go.
Before diving into installation, planning is crucial. Begin by assessing your energy needs, considering appliance usage, and determining the size and number of panels required.
Step 1: Assess Your Energy Needs
A critical first step is to gauge how much power your tiny home consumes. This can be done by examining past utility bills or using an online energy calculator. Remember, efficiency is critical in a tiny home, so opt for appliances that offer the best energy savings.
Step 2: Select Your Solar Panels
Once you have an idea of your energy needs, it's time to choose your solar panels. For tiny homes, flexibility and space are paramount, so consider lightweight, flexible solar panel options that are easier to install and won't weigh down your tiny home structure.

Step 3: Obtain Permits
Check with your local municipality or county office regarding permits for installing solar panels. This step is critical to ensure your installation meets all the required regulations and safety standards.
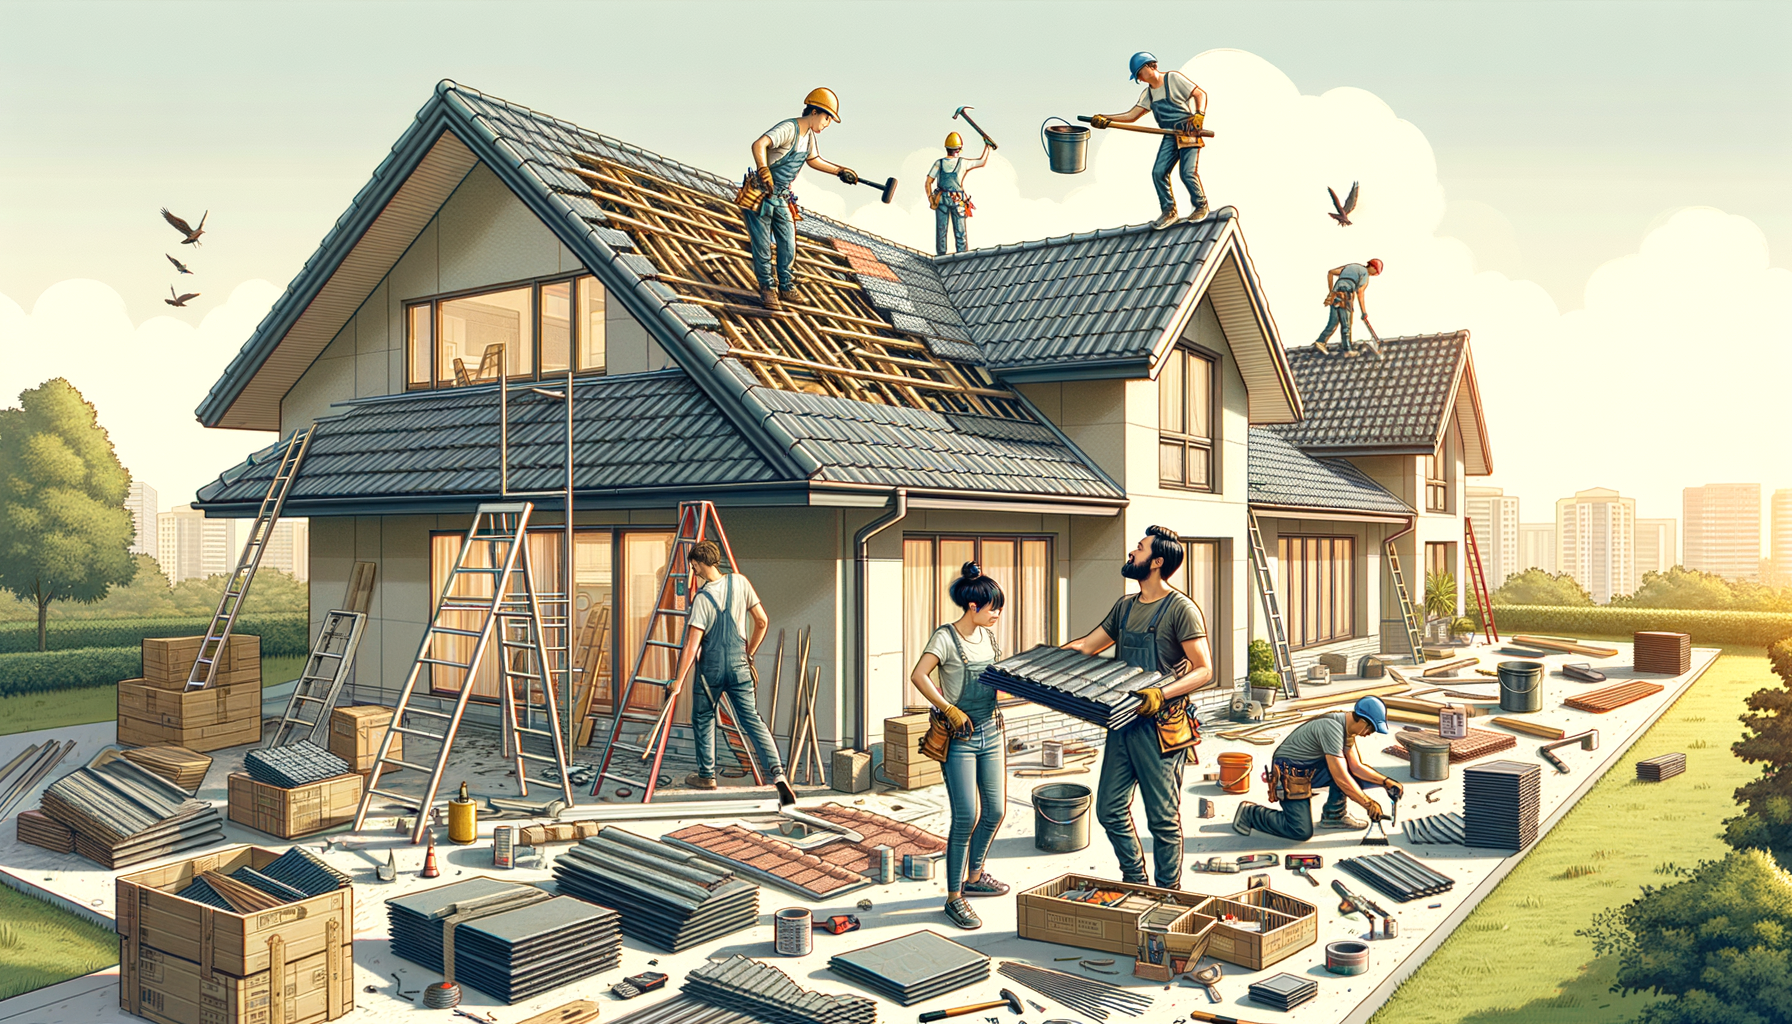
Step 4: Gather Tools and Materials
You'll need a variety of tools and materials for installation, such as:
- Drill and drill bits
- Screws and fasteners
- Wire strippers and cutters
- Solar charge controller
- Power inverter
- Mounting brackets
- Batteries for energy storage
Ensure you have everything on hand before starting the installation process.
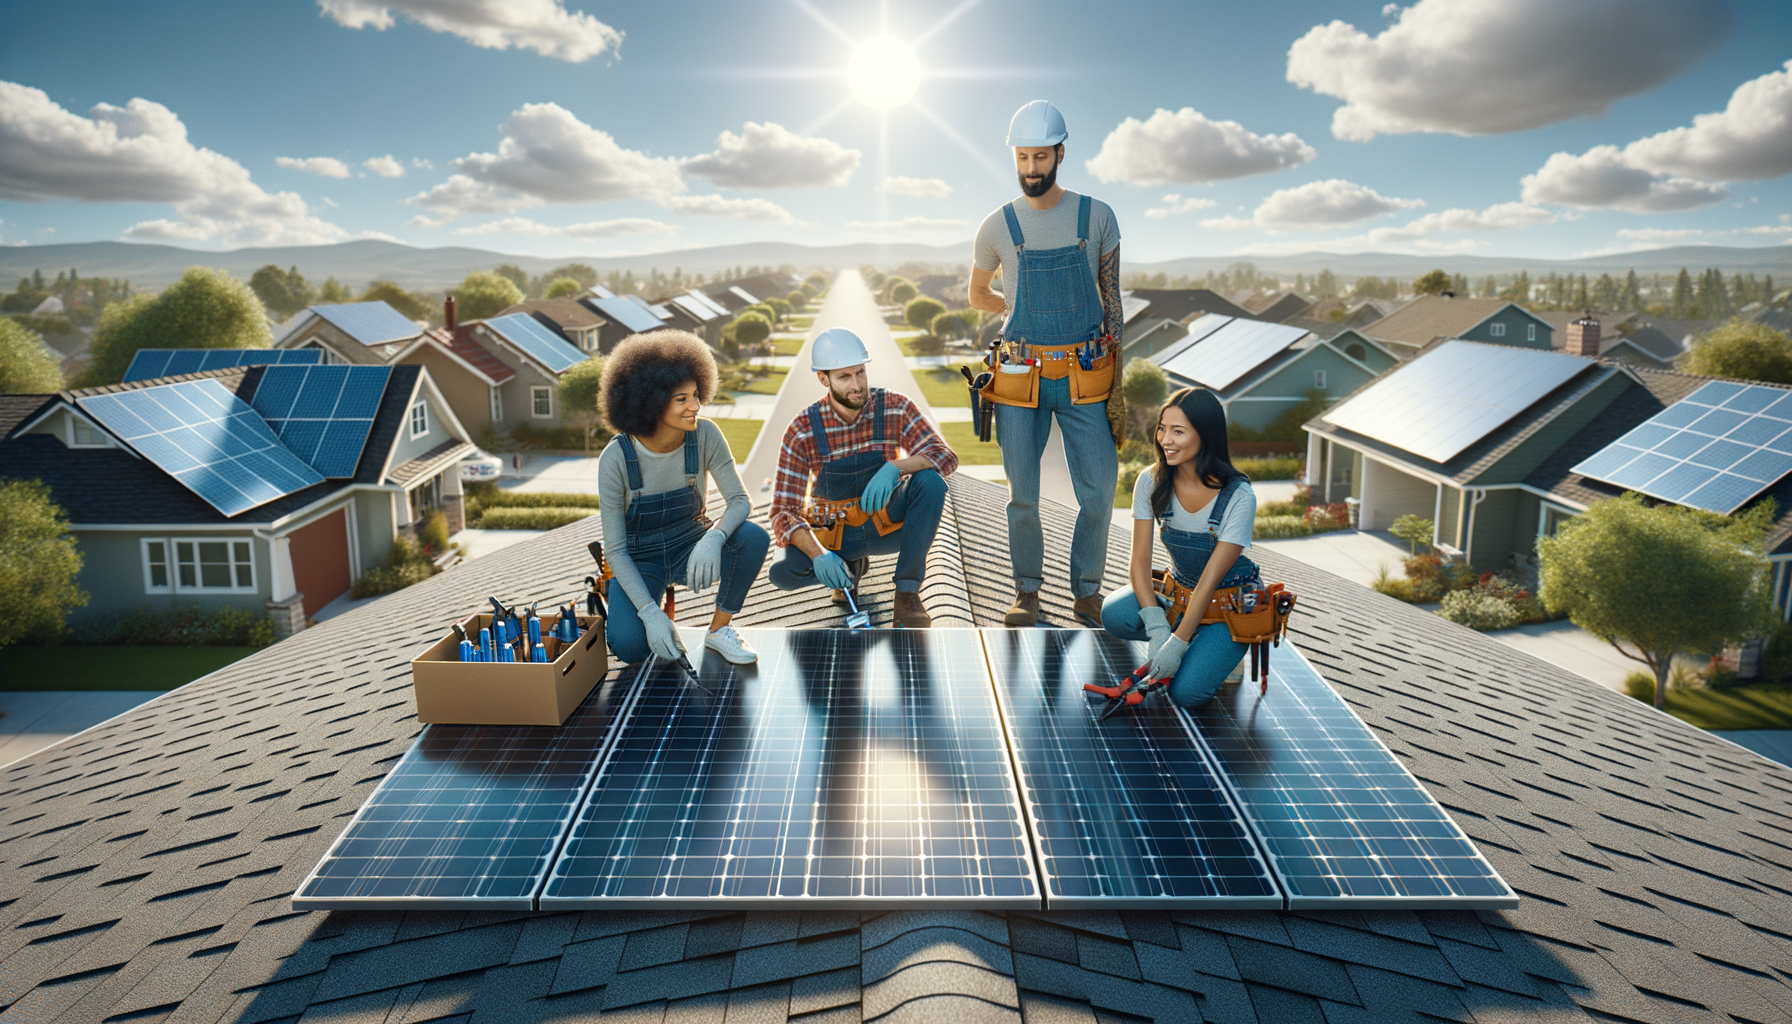
Step 5: Install the Mounting System
The mounting system is the foundation of your solar panel setup. Begin by determining the best location for your solar panels — typically, the roof. Then, securely attach your mounting brackets, ensuring they can withstand the elements and provide ample support for your panels.
Step 6: Place and Secure the Solar Panels
Carefully mount your solar panels onto the brackets. Arrange them in a way that maximizes sunlight exposure throughout the day. Once in place, secure the panels to the mounting system.

Step 7: Wire the Solar Panels
Wiring your solar panels involves connecting them to the solar charge controller, which regulates the power and charges the batteries. Then, connect the charge controller to your batteries and to the power inverter, which will convert the stored DC power into AC power for home use.
Step 8: Grounding and Final Check
Grounding your system is vital for safety. Make sure to ground the solar panel system and all its components to protect against electrical surges. After everything is set up, do a final check to ensure all connections are secure and your system is operational.
Step 9: Testing Your System
Once your solar panel system is in place, it's essential to test it thoroughly. Monitor your system for a few days to verify that it operates efficiently and meets your energy needs. Adjustments can be made to optimize performance if necessary.
Maintenance and Upkeep
Regular maintenance is relatively minimal but important. Keep your solar panels clean and free of debris to ensure they operate at peak efficiency. Periodically check the system's components for any signs of wear or damage.
In conclusion, installing solar panels on your tiny home can be a rewarding project that contributes to a sustainable future. Not only will it reduce your carbon footprint, but it will also align with the tiny home philosophy of living a conscious and minimalistic lifestyle. Follow these steps to equip your tiny home with the power of the sun and embrace energy independence today.